Secrets of Quick Part-to-Part Changeovers
Part-to-part changeovers can be fast only with proper advance planning. Here’s what you need to know to convert from sluggish to swift in job changes.


For many molders, achieving quick part-to-part times are a struggle. Fast changeovers are an absolute necessity if you intend to satisfy your customers and maintain a solid profit margin. But what are the reasons so many companies fail to shut down a press, do a mold change and put good parts on the belt … quickly? This article will define the part-to-part function, as well as provide information on how to convert from sluggish to swift in job changes.
The first step to addressing your part-to-part approach is understanding what part-to-part is by definition. The broader concept consists of three distinct areas: planning, mold change and startup.


Planning
Quick mold changes require advance planning. Many companies think fast mold changes are the result of fast-moving employees. This is a myth, and from a safety standpoint, speed can literally kill in these situations. The key to successful part-to-part changes is doing all the thinking normally done during the mold change before the press ever shuts down. Think about pit road at a NASCAR race. Are pit stops planned when the car pulls up for service? Of course not! For molding job changes, the following steps are planned long before the press is shut down:
• Clamps—Will the clamp setup be different on the next mold? How can I prep clamps to speed up my change?
• Barrel Temperatures—Will there be a big change in barrel temperature? How will I need to prep the next material? What purge requirements are there, and how can I purge quickly and efficiently?
• Mold—Are the plate thicknesses the same? Where is the mold? Where do I place my mold to improve hoist in-the-air time? Does the next mold need more or fewer hoses? Are the hot-runner setups similar? Will the valve-gate setup change?
The setup team must inspect the results of their work to ensure the press is ready to start.
• Robot Setup—Where is the end-of-arm tool (EOAT)? What is different about the new EOAT? Where should I put the EOAT to ensure I can install it quickly?
These are just a few of the issues you need to consider during the planning stage. Every plant is different, and you need to develop your own approach. Work with your mold-change team to find ways to eliminate wasted motion.
Mold Change
After planning has been completed, the press is shut down according to the plan you developed for the incoming material, unless the same material will be used. Mold-change time is referred to as “steel-to-steel,” but there are many factors that can affect the next stage—startup—through poor steel-to-steel planning or performance. Here is a list of fundamental fails that often contribute to delaying startup.
• Consistency—Good mold changes are performed thoroughly, and a completed mold change consists of all steps performed satisfactorily. The setup team must inspect the results of their work to ensure the press is ready to start. Failure to do so results in inconsistency, and this slows down the technician’s audit of the setup. A haphazard inspection can force the technician to analyze every step the setup crew performed, which actually leads to the mold change being completed a second time through inspection not actions.
• Temperature-Based Changes—Part of the planning stage requires an assessment of whether there will be major changes in barrel, mold and/or hot-runner temperatures. If so, plan these from the beginning. If the steel-to-steel change is complete, but startup is waiting on temperatures to rise or drop, the steel-to-steel event failed. Verify that all heats are working properly.
• Mold Inspection/Preparation—The first stage of mold inspection occurs during the planning stage. Mold components, fittings, safety straps, etc. are inspected for repairs needed prior to shutdown. The second stage is inspecting and cleaning the mold prior to startup. Clean the cavities and the parting line; inspect greased areas to ensure worn grease is removed and that all moving components are satisfactorily greased and functioning. Look for broken, damaged or poorly performing components. Dry-cycle the clamp and verify low-pressure close and die height. For the sake of the tool, verify core operation carefully.
• Water—Look for leaks. Check water-line placement, remembering that dragging water lines lead to water cleanup and downtime. Verify all water hookups. Molds that overheat because water setup was incorrect lead to unplanned mold changes.
• Process—Learn how to verify the key variables of a loaded process. At the very least, verify temperatures, shot size, and cutoff, hold, and back pressures to ensure all are set correctly. Loading a process does not promise a safe process was loaded.
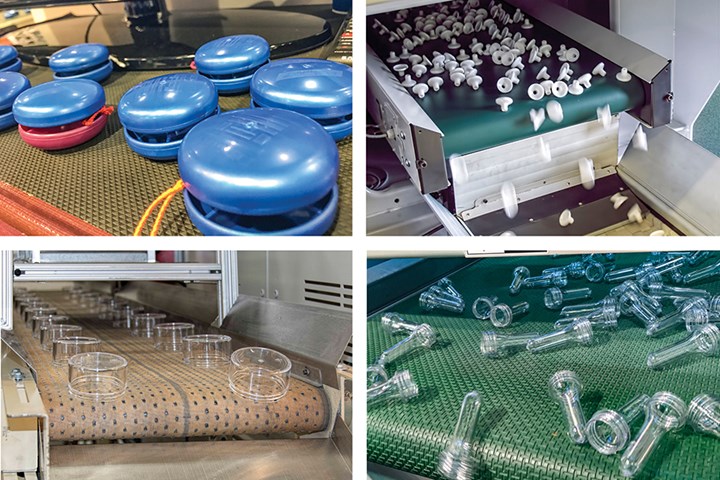
Why do so many molders struggle to achieve fast part-to-part changeovers? Perhaps it’s due to neglect of the “5 M’s.” (Photos: Plastics Technology)
Startup
Technicians are the last line of defense. Poor startups lead to molds being pulled and unplanned mold changes. One of the best tools you have in your arsenal is the “5 M’s” of the molding-audit process (man, mold, machine, material, method). The audit you perform on the results from the mold change are key to making your startup approach effective with minimal scrap. Here is how using the 5 M’s ensures that the startup goes smoothly with minimal hiccups.
Remember that part-to-part changes can be fast only with proper advance planning.
• Man—Before you start your audit, notify the supervisor you are ready for an operator. This ensures that an operator is available once the first parts hit the belt. You also want to make sure the area is ready for the operator. Packaging for new job should be in place; old pack should be gone from the area; new labels replace the labels from the last job. Verify that automation for the new job is both in place and working properly.
• Mold—Verify that the mold is clean and ready to form parts. Verify hot runners, core operation, mold movement and valve-gate operation. Purge through the mold to verify the hot runner is clean, and valve gates are working properly. Look for mold damage or wear. Verify hot-runner temperatures, and that all zones are up to the temperature specified on setup.
• Machine—Verify that press and robot programs are loaded. Verify the setpoints called out in the setup section for this job. Verify that all auxiliary equipment is ready to run. Verify that the EOAT has been changed and set up correctly.
• Material—Verify that the material is correct for the new job. Verify that barrel and mold temperatures are correct for the material. Purge the press thoroughly and check the purge puddle for signs of moisture.
• Method—Method is process; verify that the process loaded matches the program loaded. Set pack and hold to zero when you fire your first shot. First shot (fill only) should be 95-98% full. If all is satisfactory, start running the press. If parts are not acceptable by the third shot, look for something wrong!
Fast changeovers are easy to achieve if you follow the steps outlined. Remember that part-to-part changes can be fast only with proper advance planning. Mold changes must be consistent and thorough. Startups must be methodical, with care being taken to inspect mold changes. Once a changeover proves itself, start the press and enjoy the satisfaction of repeatability.
ABOUT THE AUTHOR: Garrett MacKenzie is the owner/editor of plastic411.com, as well as a consultant/trainer in plastic injection
molding. He has provided process-engineering expertise to many top companies, including Glock, Honda, Johnson Controls and Rubbermaid.
Garrett also owns Plastic411 Services, which provides maintenance & training support to Yanfeng Automotive Interior Systems, IAC, Flex-N-Gate and other top automotive suppliers. Contact:
garrett@plastic411.com.
Related Content

How to Get Rid of Bubbles in Injection Molding
First find out if they are the result of trapped gas or a vacuum void. Then follow these steps to get rid of them.
Read More
Are Your Sprue or Parts Sticking? Here Are Some Solutions
When a sprue or part sticks, the result of trying to unstick it is often more scratches or undercuts, making the problem worse and the fix more costly. Here’s how to set up a proper procedure for this sticky wicket.
Read More
How Much L/D Do You Really Need?
Just like selecting the extruder size and drive combination, the L/D should be carefully evaluated.
Read More
A Simpler Way to Calculate Shot Size vs. Barrel Capacity
Let’s take another look at this seemingly dull but oh-so-crucial topic.
Read MoreRead Next

Quick Changeover: The 3-to-7-Minute Color Change
Step 1: Assessment—These questions must be asked during the development of fast changeover procedures.
Read More
The Five “Ms” of Molding—Part II: The Mold
A bad mold can cripple a process; learn what areas should be considered as a tool is evaluated and reviewed.
Read More