Laser Scanning Saves Time and Money for Digitizing Parts and Molds
Blow molded product designers and moldmakers are finding laser scanning to be a fast, accurate, and cost-effective method to replicate molds and create new designs for highly contoured and complex parts such as beverage bottles.
Blow molded product designers and moldmakers are finding laser scanning to be a fast, accurate, and cost-effective method to replicate molds and create new designs for highly contoured and complex parts such as beverage bottles. In blow mold manufacturing, laser scanning has emerged as an effective tool for digitizing models or prototypes, finished parts, and mold cavities. It also affords an advantage over coordinate measuring systems because it can acquire millions of data points quickly.
Reverse engineering
GKS Inspection Services, div. of Laser Design, Inc., is one of the leading laser-scanning service bureaus in North America. The company has worked closely with many plastics companies to provide reverse-engineering services whereby a 3D computer model is created from digital measurement of a physical model, finished part, or mold cavity. Laser scanning is useful in instances where manufacturers simply want to produce a new mold for an existing bottle that was created without the use of CAD. For inspection of finished parts, laser scanning is also used to determine whether parts match the original CAD model, product specifications, and/or regulatory requirements.
Uniloy Milacron, a supplier of blow molding equipment and molds, adopted laser scanning to overcome the limitations of coordinate measuring machines (CMMs), according to Jim Janeczek, Uniloy product design engineer. A CMM utilizes touch sensors to record each point along a surface. It is a much slower approach that provides much less data than laser scanning, according to GKS.
As blow molded part and tool geometries become more complex, the number of data points required for accurate measurement has increased exponentially. According to GKS, millions of points are required to accurately model complex bottle geometries. For such parts it now takes days to capture points one by one with CMM. In addition, CMM units are quite expensive, costing up to $250,000.
More data faster
Laser scanners project a line of light onto surfaces while cameras continuously triangulate the changing distance and profile of the laser scan line as it sweeps over the contours of the object. The laser probe has two sensors that can record up to 50,000 data points per second compared with a touch probe-based CMM that records about 1 point/sec. As a non-contact system, laser-scanning results are independent of the skill of the operator.
The first part that Uniloy sent to GKS for scanning was a dairy bottle for which the customer wanted a new mold. The 16-oz bottle was too soft to digitize accurately with a CMM touch probe.
GKS’s laser scanner generated a “point cloud” of millions of data points with each point accurate to within 20 microns. The surfaces generated from the point cloud were accurate to within 0.004 in., according to Larry Carlberg, GKS service bureau manager.
The point cloud was converted to a CAD surface model. The entire process took two days and cost less than $1500. “Laser scanning substantially improved the accuracy with which we can duplicate our customer’s geometry, and the cost and lead time of this new technology is substantially less than the contact-probe CMM technology it replaced,” says Uniloy’s Janeczek.
Uniloy has sent about a dozen other physical models or finished containers to GKS for digitizing. Another example was a 2-liter dairy container that was created by a modeler using hand tools. The model had many subtle details that were invisible to the naked eye but could be felt with bare hands. Uniloy was able to verify the details by comparing the CAD model to the physical model.
Related Content
Measuring Technology Specialist Pixargus Acquired by CiTex Group
A global player in optical inline quality control, Pixargus is intensifying presence in U.S. & Asia under CiTex umbrella.
Read MoreInline Inspection System for Wood Plastic Composites
Pixargus’ ProfilControl 7 DX WoodPlasticComposites measure all dimensions and geometrics, including deep grooves.
Read MoreDatacolor Acquires Matchmycolor
The acquisition of the specialist in color formulation and communication software further expands Datacolor’s global industry presence in color management.
Read MoreHandheld NIR Instrument Distinguishes PET from PETG
Mobile spectroscopy from trinamiX detects more than 30 different plastics—and now PET vs. PETG as an aid to recycling.
Read MoreRead Next
How Polymer Melts in Single-Screw Extruders
Understanding how polymer melts in a single-screw extruder could help you optimize your screw design to eliminate defect-causing solid polymer fragments.
Read MoreAdvanced Recycling: Beyond Pyrolysis
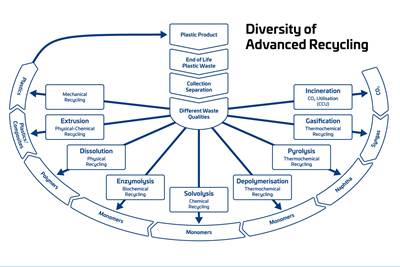
Consumer-product brand owners increasingly see advanced chemical recycling as a necessary complement to mechanical recycling if they are to meet ambitious goals for a circular economy in the next decade. Dozens of technology providers are developing new technologies to overcome the limitations of existing pyrolysis methods and to commercialize various alternative approaches to chemical recycling of plastics.
Read MoreWhy (and What) You Need to Dry
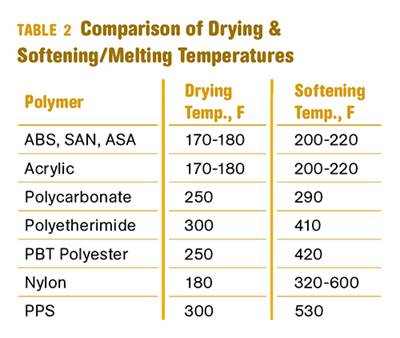
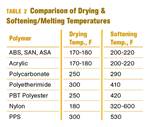
Other than polyolefins, almost every other polymer exhibits some level of polarity and therefore can absorb a certain amount of moisture from the atmosphere. Here’s a look at some of these materials, and what needs to be done to dry them.
Read More




.png;maxWidth=300;quality=90)
