
Understanding Flow Fronts and Defects
Flow-front behavior and corrections are key to solving many common molding problems —what is your process’s flow trying to tell you about your part?


Plastics processing can be both simple and complex. Some issues require only a simple adjustment to correct a defect condition, while others might require multiple adjustments. Regardless of the relative complexity or simplicity, understanding flow-front performance and being able to make process adjustments is often key to any process correction. This article will identify various flow-front characteristics and will also provide solutions to correct related defects.
Shear & Burn Defects
Shear is generally a sign of a flow front that is moving too fast. Symptoms of shear might be bubbles, splay or burns. It is important to identify at what point of fill shear is occurring. Does the defect have a direct correlation to a part area or a specific detail? Is shear occurring at the beginning, middle or end of fill?


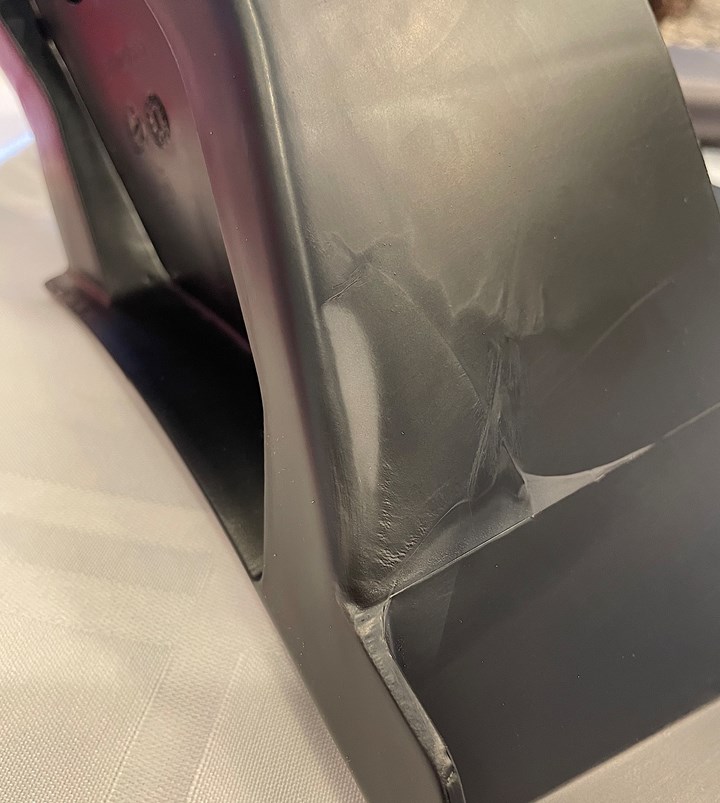
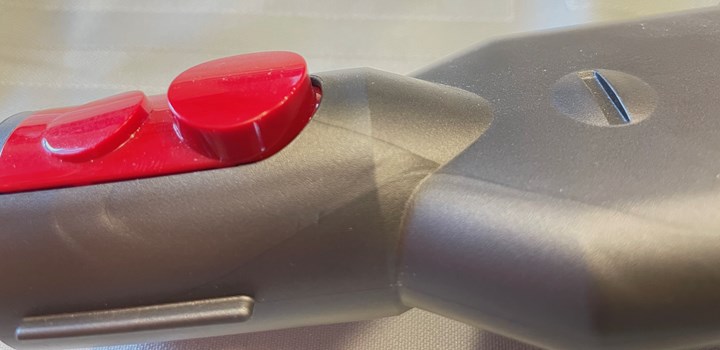
Jetting and splay in a molded part could be alleviated by investigating how the material flow front moves through the part.
Beginning-of-fill defects generally have a direct relationship to plastic flowing through a gate or drop. Fast flow through a small gate can lead to heat-related shear defects, and shear through a hot-runner drop might have a direct relationship to the drop’s temperature being too cold.
Defects occurring during the middle of fill can point to several other potential causes. Passing around or through specific part details can certainly lead to unwanted shear events. It is also important to inspect the mold itself for burrs or damage that might be causing unexpected shear.
Understanding flow-front performance and being able to make process adjustments is often key to any process correction.
Gas Traps
Gas-trap defects are another common occurrence that can be caused by a fast-moving flow front. Conversely, it is also important to note that gas traps can also be caused by a flow front moving too slowly. A flow front moving too quickly towards a vented area can leave gases lacking adequate time to escape through specific vents. Flow fronts moving too slowly can lead to pressure in front of a flow front being too low to force gas through vents. Adjustments to injection speeds are the best way to determine which of these two are the specific cause. Faster injection increases pressure in front of a flow front. Lower speeds allow gas more time to escape through vents.
Relationship to Viscosity
The movement of any flow front has a direct relationship to the viscosity of the material. Each base material has its own flow-front characteristics. Heat plays an important role in flow-front performance. Higher temperatures lead to a thinner flow front, which results in faster fill times and lower pressures during fill and peak pressure at transfer. Lower temperatures are prone to slower fill times and higher pressures during injection and peak pressure at transfer.
Over/Under Packing of Details
Ribs, tabs and other details also can be affected by flow-front performance. The faster a flow front passes over this type of detail, the less plastic is packed into the detail during flow. Fast flow over a detail can cause shorts or burns, and a flow that moves too slowly can lead to overpacked and/or sticking part areas. An analogy to help understand this process is to picture someone throwing a 5-gallon bucket of water towards a ditch. Quickly throwing the water towards the ditch will result in less water actually going into the ditch. Throwing the water more slowly toward the ditch, however, results in more water finding its way into it.
Understanding flow-front behavior can help molders address a variety of surface defects.
Injection Profiling
Profiling injection is a great tool for establishing at what position a flow front is performing poorly, leading to a defect condition. Verify that the process itself has been decoupled first, yielding a 95-98% full part with no hold or pack added. Divide the required shot size by 5, creating 5 stages of injection. Identical injection speeds work best during this procedure. Set your injection speed at 0 one position at a time, starting with the inject position closest to transfer. Lay the resulting parts on top of each other as you change each profile speed to zero. This will help you to see precisely how the flow front moves, providing you data to make injection speed adjustments based on where the flow front would be during each injection stage.
Higher temperatures lead to a thinner flow front, which results in faster fill times and lower pressures during fill and peak pressure at transfer.
Our molding predecessors taught us to think like plastic moves. Flow-front behavior and corrections are key to solving many common molding problems. Even complex molding issues can be corrected by changing flow-front action. Reviewing the flow front’s movement will not only give us potential solutions to many of the defects we’ll be forced to correct, but understanding the actions of a flow front can also be key to developing validated processes that will be free of scrap.
ABOUT THE AUTHOR: Garrett MacKenzie is the owner/editor of plastic411.com and a consultant/trainer in plastic injection molding. He has provided process-engineering expertise to many top companies, including Glock, Honda, Johnson Controls and Rubbermaid. Garrett also owns Plastic411 Services, which provides maintenance & training support to Yanfeng Automotive Interior Systems, IAC, Flex-N-Gate and other top automotive suppliers. Contact: garrett@plastic411.com.


Related Content

Use These 7 Parameters to Unravel the Melt Temperature Mystery
Despite its integral role in a stable process and consistent parts, true melt temperature in injection molding can be an enigma. Learning more about these seven parameters may help you solve the puzzle.
Read More
Three Key Decisions for an Optimal Ejection System
When determining the best ejection option for a tool, molders must consider the ejector’s surface area, location and style.
Read More
Understanding the Effect of Pressure Losses on Injection Molded Parts
The compressibility of plastics as a class of materials means the pressure punched into the machine control and the pressure the melt experiences at the end of fill within the mold will be very different. What does this difference mean for process consistency and part quality?
Read More
Part 2 Medical Tubing: Use Simulation to Troubleshoot, Optimize Processing & Dies
Simulation can determine whether a die has regions of low shear rate and shear stress on the metal surface where the polymer would ultimately degrade, and can help processors design dies better suited for their projects.
Read MoreRead Next

Revisiting the '5 M's' of Molding
All injection molding ultimately comes down to the “Man, Mold, Machine, Material and Method.” But those key aspects can be viewed differently if you’re auditing mold changes before startup or troubleshooting changes for an already validated process.
Read More
Quick Changeover: The 3-to-7-Minute Color Change
Step 1: Assessment—These questions must be asked during the development of fast changeover procedures.
Read More